In today’s world, where the market is flooded with hair care products, it’s easy to overlook the benefits of natural remedies. Making hair oil at home is not only a fun DIY project but also ensures that you know exactly what you’re putting on your hair and scalp. Let’s delve into the process of making homemade hair oil, from understanding the ingredients to preparing and using it effectively with this comprehensive Hair Oil Recipe.
The foundation of any DIY hair oil recipe is essential oils. They lend the oil its scent and medicinal qualities. Popular essential oils for hair treatment include peppermint, lavender, rosemary, and tea tree oil. Every essential oil offers a different set of advantages, such encouraging hair development, lessening dandruff, or relieving scalp irritation.
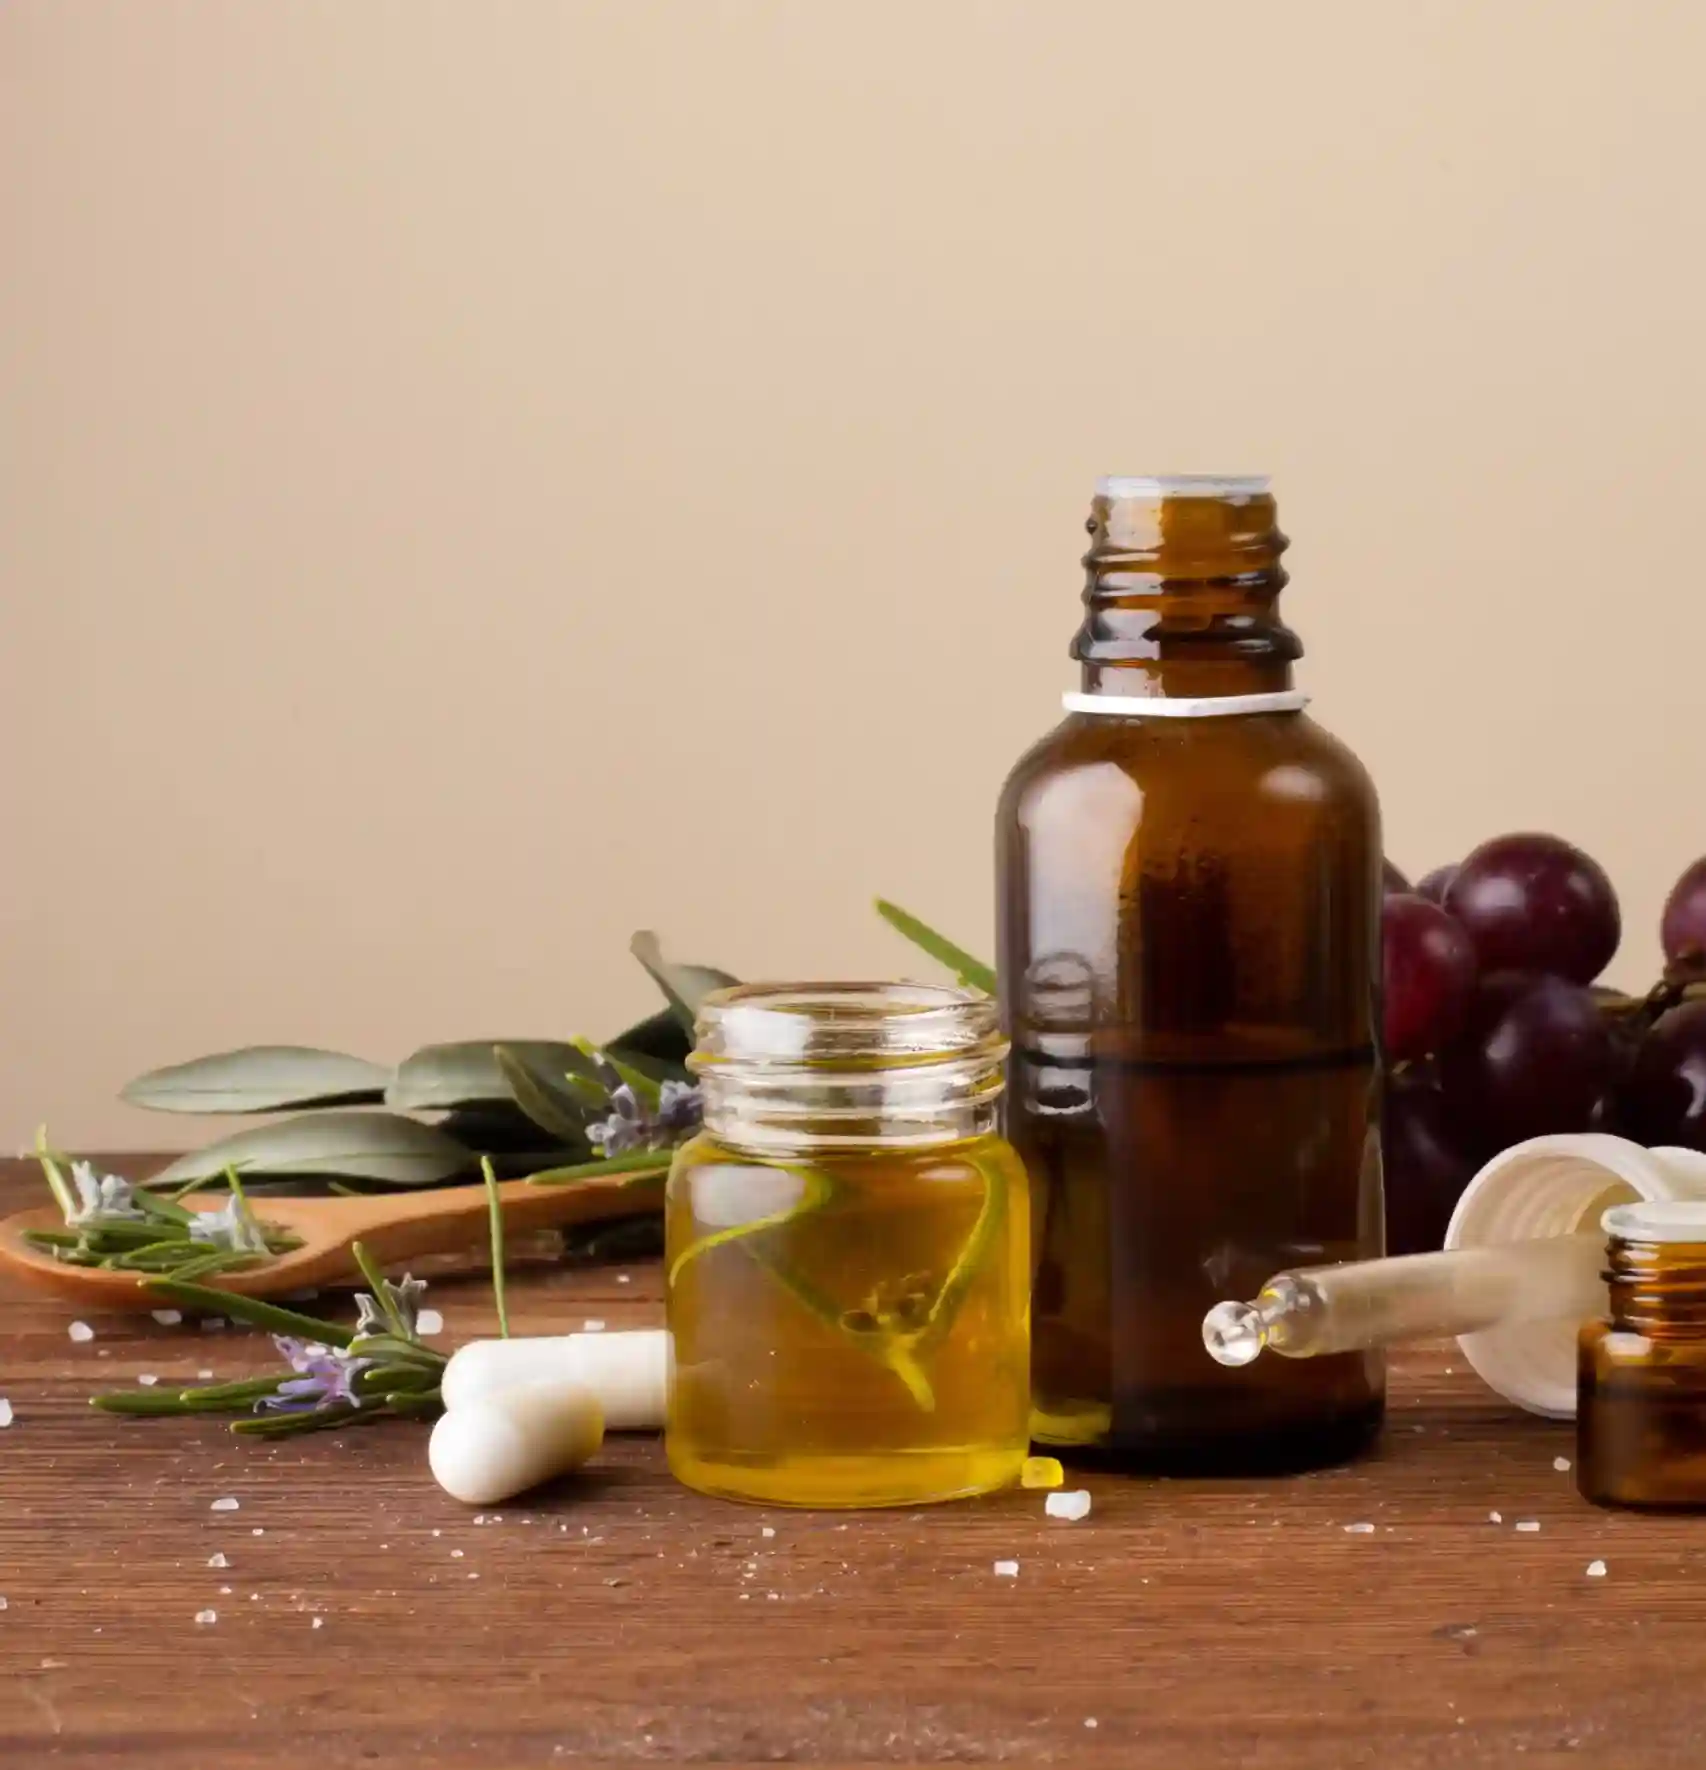
Carrier oils are the base of the hair oil and help dilute essential oils to make them safe for topical application. Almond, coconut, jojoba, and olive oils are examples of common carrier oils. These oils not only moisturize the hair but also deliver essential nutrients to the scalp, promoting overall hair health.
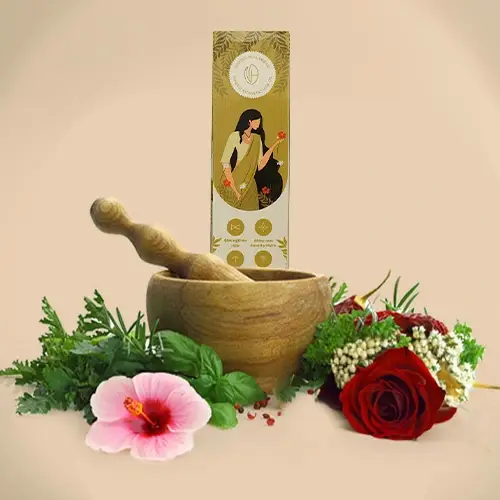
Herbs and spices can be added to homemade hair oil for additional benefits. Ingredients like curry leaves, fenugreek seeds, hibiscus flowers, and amla powder are known for their hair-strengthening and conditioning properties. Infusing these herbs and spices into the oil adds a natural boost to your hair care routine.
Making a basic homemade hair oil is a straightforward process that requires only a few ingredients. Here’s a step-by-step guide to creating your own nourishing hair oil:
Choose a carrier oil first based on the needs and type of hair you have. For instance:
Next, choose essential oils based on their therapeutic properties and fragrance preferences. Some popular options include:
Enhance the nourishing qualities of your hair oil by adding herbs or spices. Consider ingredients like:
For those seeking targeted solutions to specific hair concerns, advanced homemade hair oil recipes provide customized options. Here are some examples:
Now that you’ve chosen your ingredients, it’s time to prepare your homemade hair oil. Follow these steps for a successful infusion:
In a double boiler or microwave-safe container, heat the chosen carrier oil until warm but not hot. Heating helps the oil absorb the properties of added ingredients.
Once the carrier oil is warm, add the selected essential oils and herbs/spices. Stir gently to combine, ensuring even distribution of ingredients.
Allow the oil mixture to infuse for several hours or overnight. This allows the carrier oil to absorb the beneficial properties of the added ingredients fully.
After infusing, strain the oil using a fine mesh sieve or cheesecloth to remove any solid particles. Transfer the strained oil to a clean, dry bottle or jar, and store it in a cool, dark place until ready to use.
Proper storage is essential to maintain the quality and efficacy of homemade hair oil. Choose dark glass bottles or jars to protect the oil from light exposure, and ensure that the container is tightly sealed to prevent oxidation. Homemade hair oil typically has a shelf life of 6-12 months, depending on the ingredients used and storage conditions.
Homemade hair oil offers several advantages over commercial products. Firstly, it contains only natural ingredients, free from harsh chemicals and preservatives. Secondly, you have the flexibility to customize the oil according to your hair type and specific concerns. And finally, making your own hair oil is often more cost-effective in the long run, especially if you frequently use hair care products.
To use homemade hair oil, simply apply a small amount to the scalp and hair, massaging gently to distribute evenly.For deep conditioning, let the oil on for at least thirty minutes or overnight. Then, shampoo and rinse as usual to remove any excess oil. For best results, use homemade hair oil 1-2 times per week as part of your regular hair care routine.
Before using homemade hair oil, it’s essential to perform a patch test to check for any allergic reactions. Apply a small amount of the oil to the inner arm or behind the ear and wait 24 hours to ensure no adverse effects occur. Additionally, if you have any pre-existing scalp conditions or allergies, consult with a dermatologist before incorporating homemade hair oil into your routine.
Making hair oil at home is a rewarding and beneficial endeavor that allows you to take control of your hair care regimen. By understanding the ingredients, preparing the oil with care, and using it consistently, you can achieve healthy, lustrous locks naturally. Experiment with different recipes and ingredients to find the perfect blend for your hair needs, and enjoy the nourishing benefits of homemade hair oil.
Don’t miss our future updates! Get Subscribed Today!
©2024. All Rights Reserved.
Develope and Design by